How to create a working contact form with HTML

Contact forms are one of the best ways to convert more leads, and get the information you need from your visitors in a specific order, but usually it's not so easy to craft, in this guide we are going to make it easy like a cake!
Sometimes you may want to create a contact form without PHP, if that's the case, this tutorial might be really helpful to you.
After you read this guide
- You can create a working HTML contact form in 4 steps, under 3 minutes for free
- You'll have a predefined CSS for you to quickly start
- You can get email notifications from your contact form
- You can export your contact form submissions as CSV and JSON
- You don't have to deal with any back end code stuff (Php, Go, Node.js etc.)
Step 1 — Create your HTML Form and CSS
First, you'll need an HTML form in your web page, which is not a big deal, a basic HTML contact form will look like this.
<form class="formcarryForm" action="#" method="POST">
  <label for="firstNameInput">First Name</label>
  <input type="text" id="firstNameInput" />

  <label for="lastNameInput">Last Name</label>
  <input type="text" id="lastNameInput" />

  <label for="emailInput">Email</label>
  <input type="email" id="emailInput" />

  <label for="messageInput">Message</label>
  <textarea id="messageInput" cols="30" rows="10"></textarea>

  <button type="submit">Submit</button>
</form>
A basic form in HTML is just a static thing that's only obligated to deliver the user input to a back-end script. You have to point the form to some script to actually process the data.
I have created a sample design for the sake of our blog post, which you can use it in your website for free.
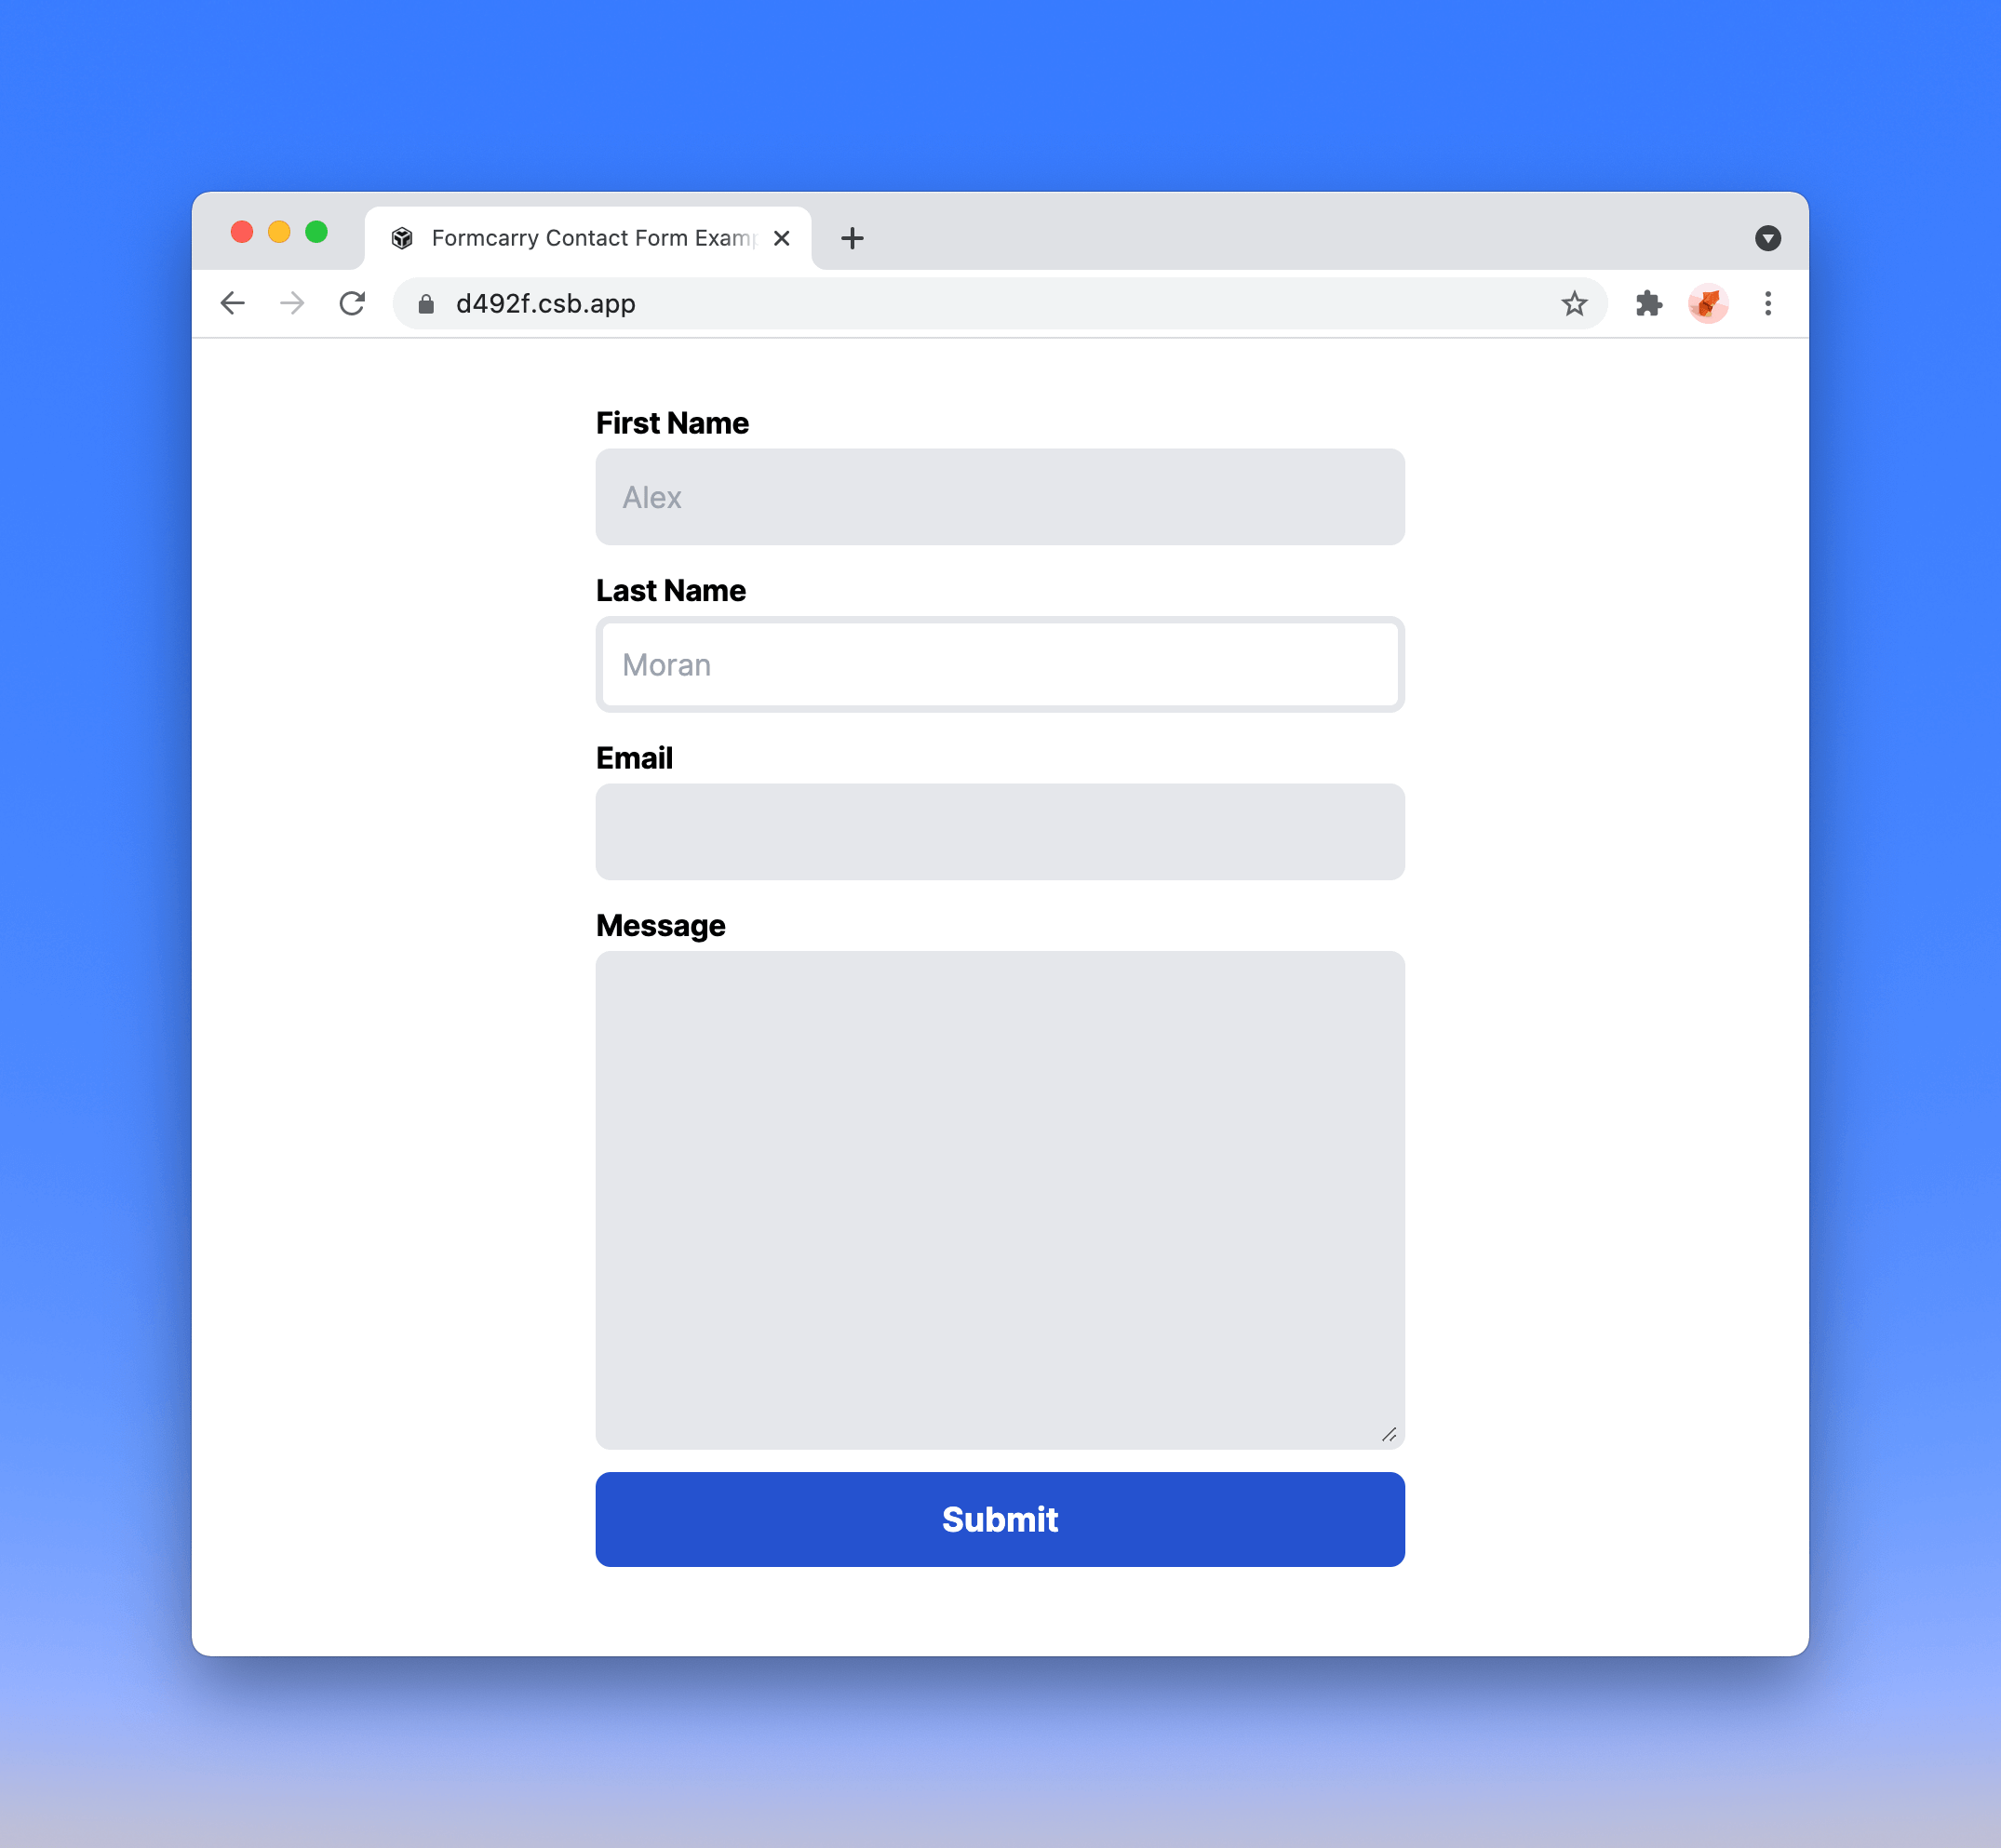
Here's the CSS code that you can copy and use:
<style>
    @import url("https://fonts.googleapis.com/css2?family=Inter:wght@400;700&display=swap");

    /*
    CONTACT FORM EXAMPLE FOR FORMCARRY

    IMPORTANT NOTE:
    PLEASE ADD formcarryForm class to your form element
    to apply the styles.
    */

    * {
        box-sizing: border-box;

        /* colors */
        --color-blue: #2552d0;
        --color-light-blue: #3266e3;
        --color-gray: #e5e7eb;
        --color-dark-gray: #9da3ae;
        --color-pink: #edadd2;

        /* container */
        --c-width: 50%;
        --c-max-width: 500px;
    }

    body {
        font-family: "Inter", sans-serif;
    }

    .formcarryContainer {
        width: var(--c-width);
        max-width: var(--c-max-width);
        display: block;
        margin: 10vh auto 0 auto;
    }

    .formcarryForm label {
        display: block;
        padding: 12px 0 2px 0;
        letter-spacing: -0.2px;
        cursor: pointer;
        font-size: 16px;
        font-weight: 700;
    }

    .formcarryForm input,
    .formcarryForm textarea {
        font-size: 16px;
        display: block;
        width: 100%;
        padding: 10px;
        background-color: var(--color-gray);
        border: none;
        border: 4px solid var(--color-gray);
        outline: none;
        border-radius: 8px;
        color: var(--color-dark-gray);
    }

    .formcarryForm input:focus,
    .formcarryForm textarea:focus {
        background-color: #fff;
        color: var(--color-dark-gray);
    }

    .formcarryForm input:focus:required:invalid {
        border-color: var(--color-pink);
        background-color: #fff;
    }

    .formcarryForm button {
        display: block;
        margin-top: 12px;
        width: 100%;
        padding: 12px 20px;
        border-radius: 8px;
        background-color: var(--color-blue);
        color: #fff;
        font-weight: 700;
        font-size: 18px;

        transition: 300ms all;
    }

    .formcarryForm button:hover {
        background-color: var(--color-light-blue);
    }

    .formcarry-alert {
        padding: 12px;
        border-radius: 10px;
        color: #fff;
        font-size: 14px;
        font-weight: 400;
        margin-top: 12px;
        display: none;
    }

    .formcarry-alert.visible {
        display: block;
    }

    .formcarry-alert.success {
        background: #69cf9d;
    }

    .formcarry-alert.error {
        background: #de524c;
    }
</style>
Here's the live CodeSandbox demo
Update 6 Jan, 2022:
We have built free form generator tool that you can customize and get HTML code, make sure you check it out if you need form template.
Step 2 — Structure your form data
In order to send your form data to a script you need to name each of your fields so the script can match the values with the names (or the key).
You can add as many fields as you want.
Let's uniquely name each of our fields using name attribution.
<form class="formcarryForm" action="#" method="POST">
  <label for="firstNameInput">First Name</label>
  <input type="text" id="firstNameInput" name="firstName" />

  <label for="lastNameInput">Last Name</label>
  <input type="text" id="lastNameInput" name="lastName" />

  <label for="emailInput">Email</label>
  <input type="email" id="emailInput" name="email" />

  <label for="messageInput">Message</label>
  <textarea id="messageInput" cols="30" rows="10" name="message"></textarea>

  <button type="submit">Submit</button>
</form>
Now we have a contact form that's ready to deliver the data to a script.
Step 3 — Point your form to backend
There's two ways to handle this step, this part is the most time consuming stuff due to you have to check fields, implement spam protection, create a mail server and make sure that it's working.
You can code your form backend on your own, or you can use Formcarry — form backend to process your form for free, that way you can get notification emails, use best in class spam protection and connect your submission data with other apps using Zapier.
If you want to code your own back-end take a look at How to create a contact form backend on your own.
Step 3.1 — Create a form in formcarry
Sign Up to formcarry for free, then click Add New to get your unique form backend URL
Then copy your unique form endpoint
Step 3.2 — Integrate your form with formcarry
Copy your endpoint and paste it into action part of your form
- <form class="formcarryForm" action="#" method="POST">
+ <form class="formcarryForm" action="https://formcarry.com/s/{Your-Unique-Endpoint}" method="POST">
Step 4 — Collect submissions
We have crafted our form under few minutes and now you are ready to collect submissions, let's try our form!
Easy peasy 🙂, now refresh your formcarry dashboard to see the submission;
That's how easy it is, you can filter, sort and export your submissions from your formcarry dashboard.
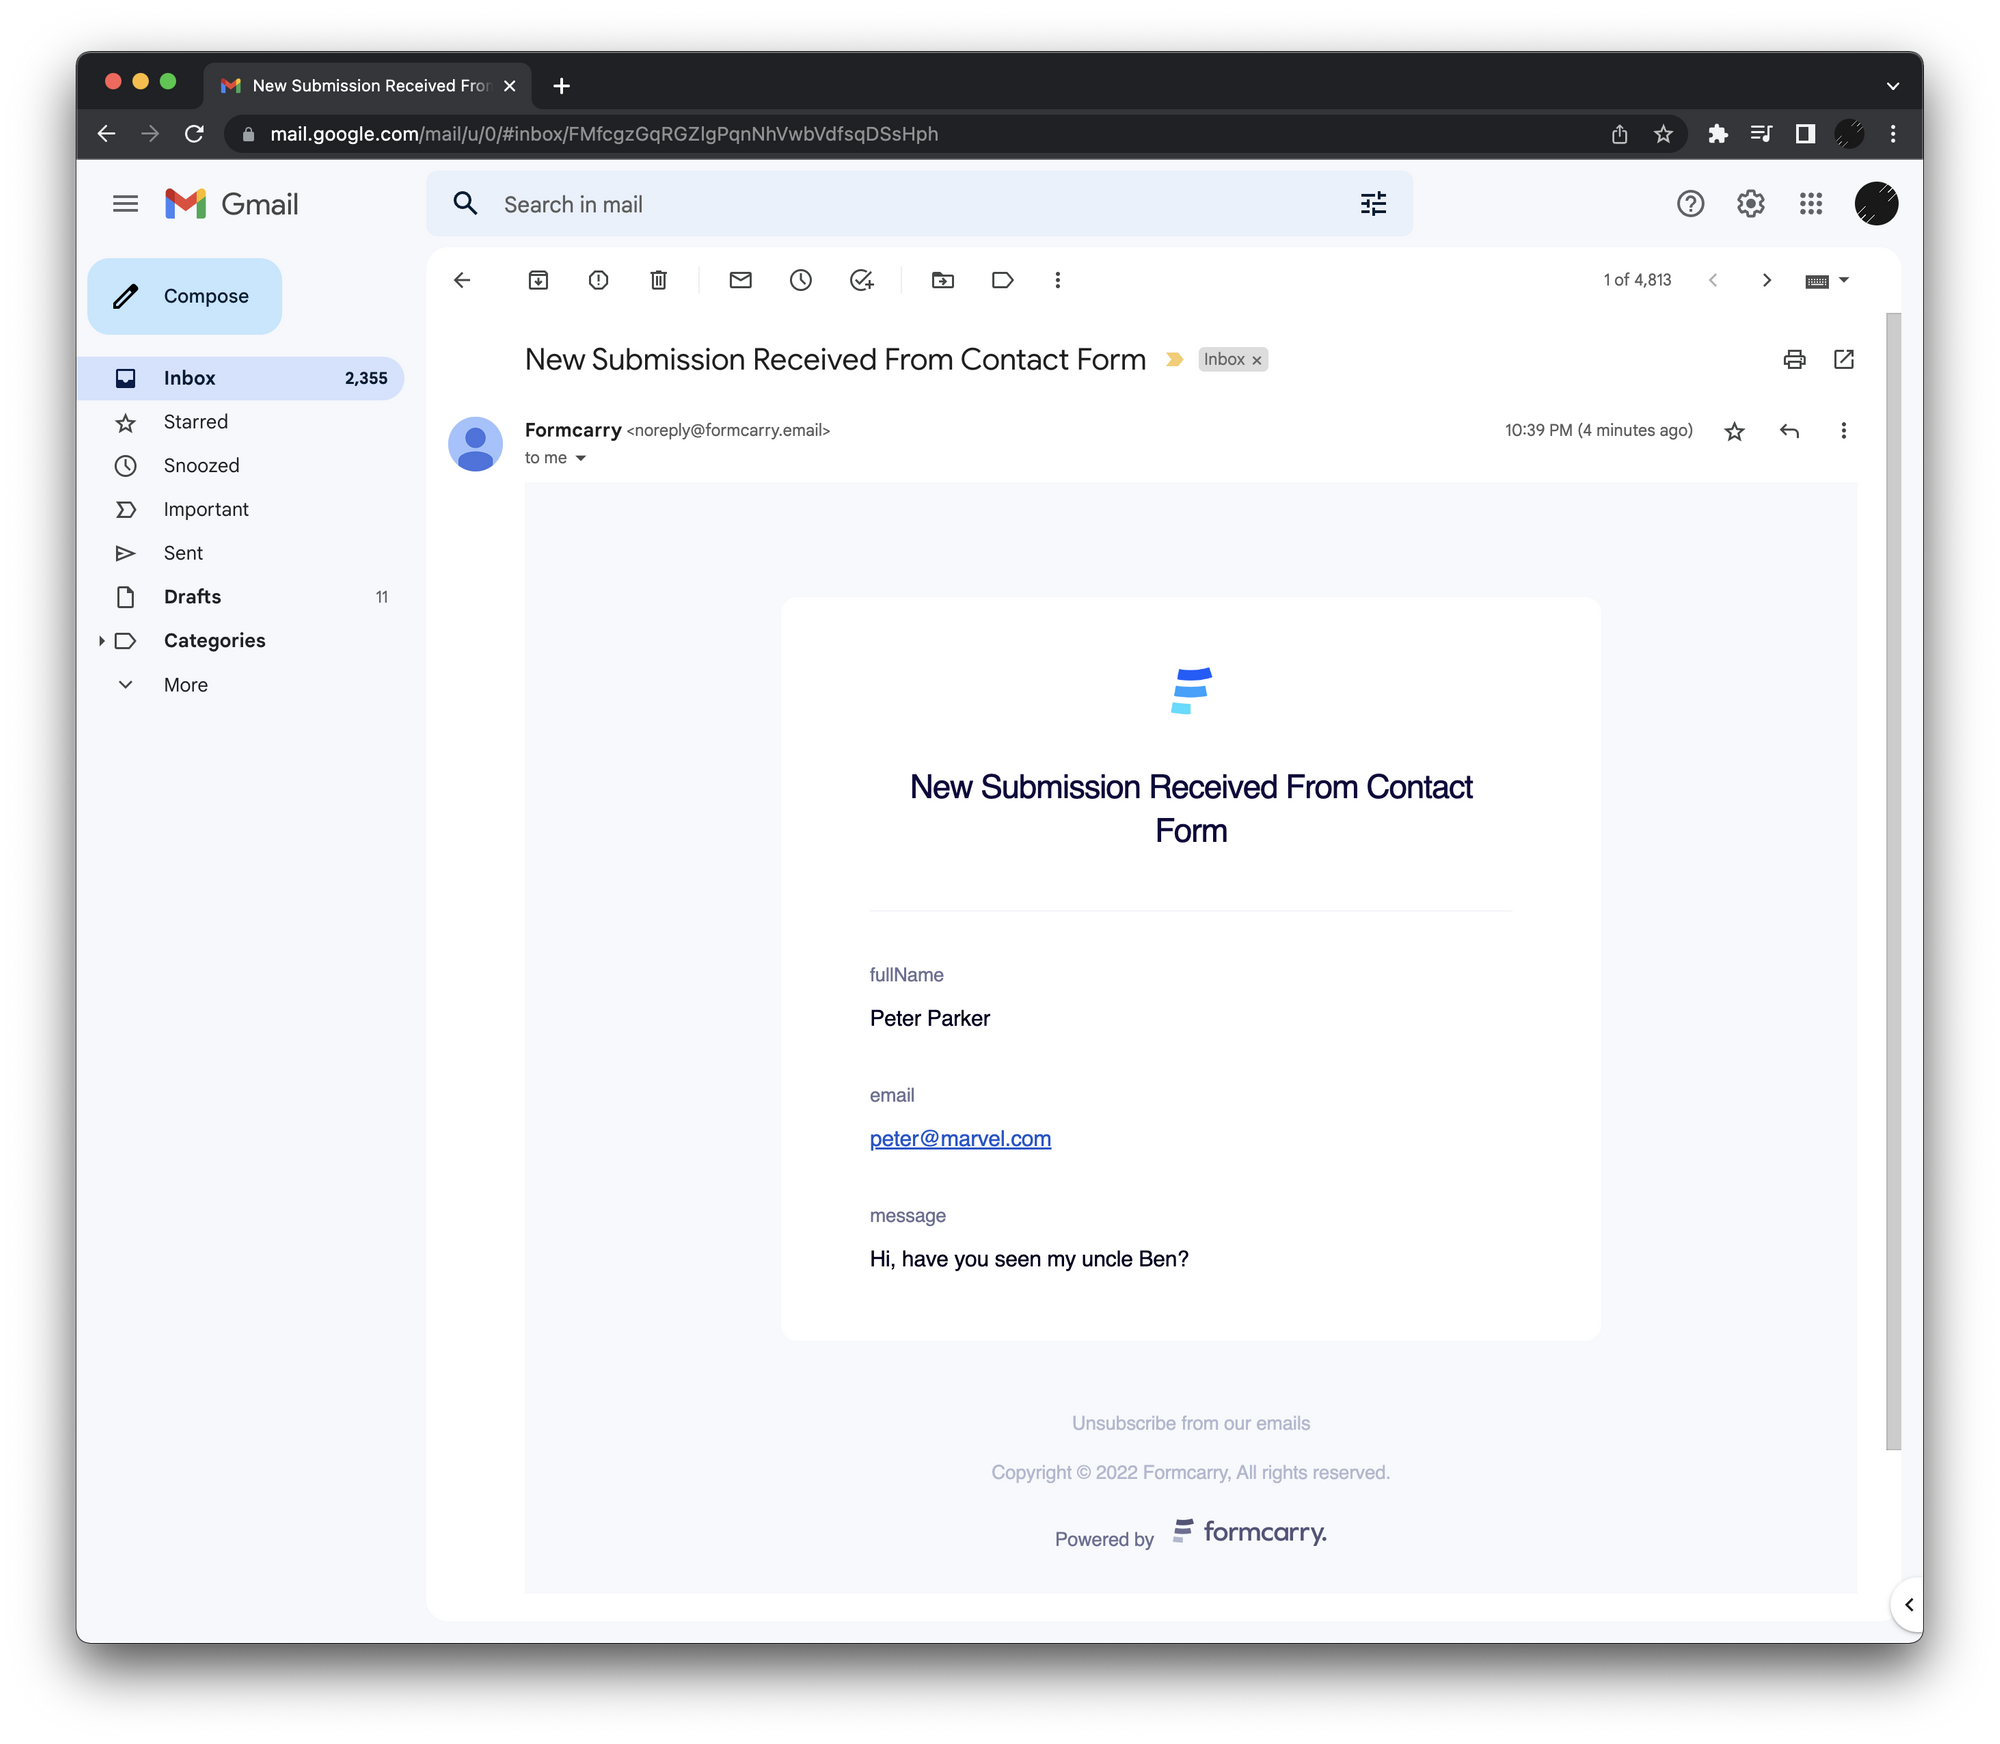
You'll also get an email to the email addresses you have specified when you are creating the form;
Conclusion
I hope this blog post helped you! feel free to ask down there if anything didn't go expected.
It's really time consuming thing to create your own form backend but formcarry offers you the best solution, here's other things that you can benefit from using formcarry:
- Upload files to your form
- Integrating your submissions to other apps like, Integrate formcarry with Google Sheets
- Auto Responders
- Customize your Emails
- Analytics
At formcarry all of our job is to make sure that your form endpoint is always online, provide you the best spam protection and allow you to always receive email notifications whenever you got a new submission!
If you haven't registered yet, Register Formcarry for Free Now!